Introduction: Your Journey to Solar Energy Starts Here
You’ve done your research, compared quotes (perhaps through a helpful platform like EnergySage ), and chosen your solar installer. Congratulations! You’re on your way to harnessing the power of the sun. But what happens next? The solar panel installation process might seem daunting, but it’s a well-orchestrated sequence of steps designed to get your system up and running efficiently and safely. This guide will walk you through the typical solar panel installation process, so you know exactly what to expect.
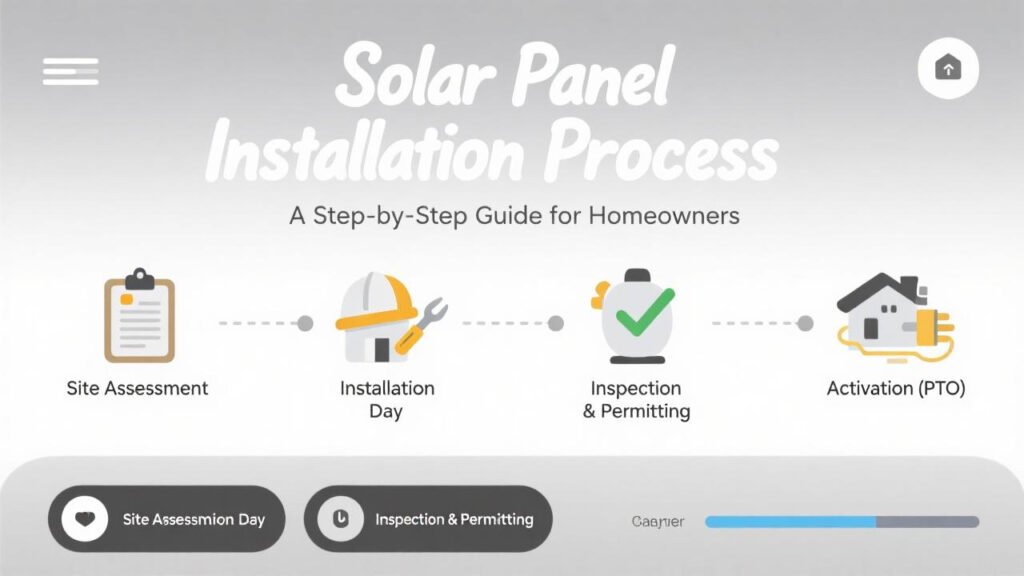
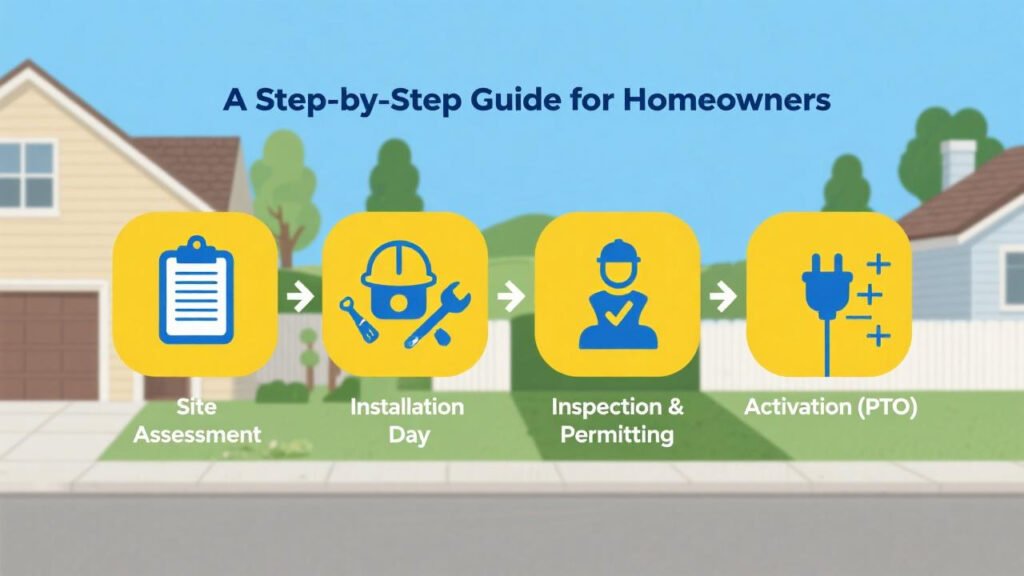
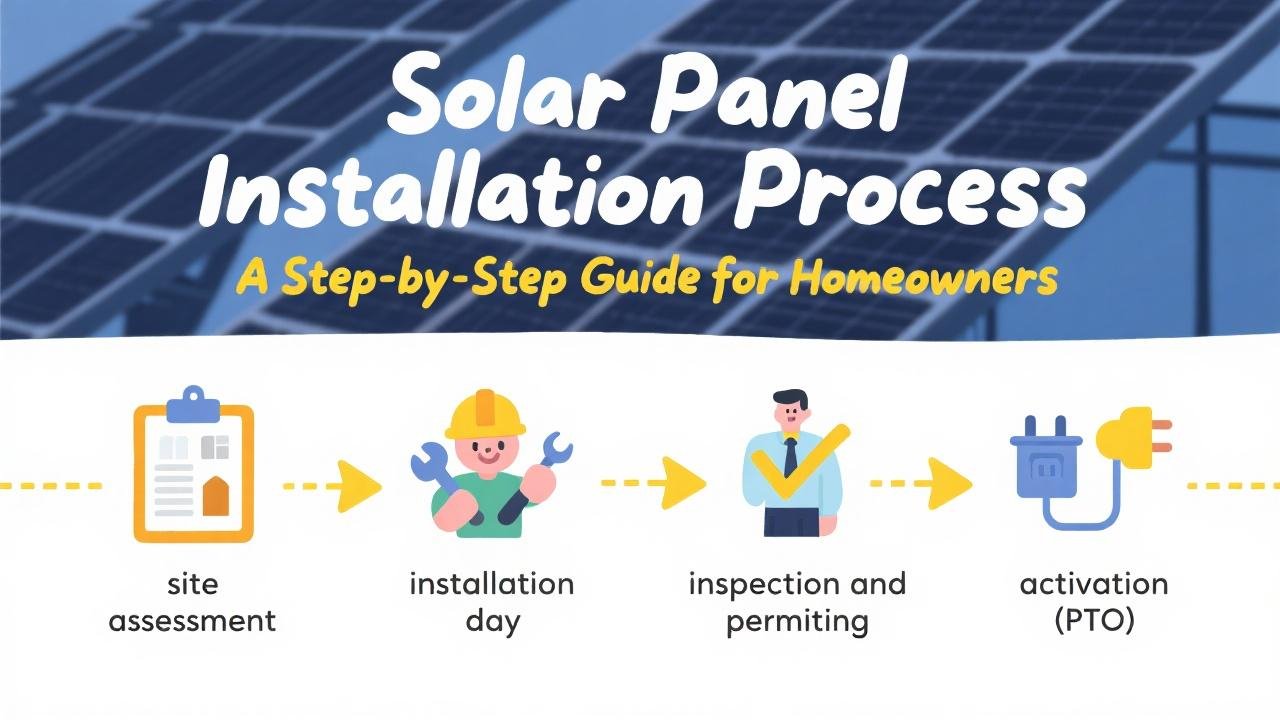
Step 1: Site Assessment and Final System Design
Even if you’ve had an initial consultation, your chosen installer will likely conduct a more detailed site assessment.
- Purpose: To confirm roof conditions (age, material, structural integrity), take precise measurements, check your electrical panel’s capacity, and identify any potential shading issues that weren’t caught in preliminary assessments.
- What Happens: An engineer or technician will visit your home. They’ll inspect your roof, attic, and electrical system. They might use tools like a drone for aerial views or specialized equipment to assess sun exposure.
- Outcome: Based on this assessment, the installer will finalize the system design. This includes the exact number and placement of panels, the inverter type and location, and the wiring plan. You’ll typically review and approve this final design.

Step 2: Permitting and Paperwork
Before any physical installation can begin, your installer needs to obtain the necessary permits from your local city or county government.
- Why It’s Necessary: Permits ensure that the installation meets local building codes, electrical codes, and safety regulations. This step is crucial for compliance and for the safety of your home and the utility grid.
- Who Handles It: Your solar installer will almost always handle all the permitting paperwork. This is one of the advantages of working with experienced professionals found through marketplaces like EnergySage, as they are familiar with local requirements.
- Timeline: The permitting process can take anywhere from a few days to several weeks, depending on your local jurisdiction’s efficiency and backlog. This is often the longest waiting period in the entire process.
Your installer may also handle any necessary applications to your utility company for interconnection and net metering agreements.
Step 3: Ordering Equipment
Once permits are approved, your installer will order the solar panels, inverters, racking systems, and other necessary components for your specific system design.
- Component Selection: The brands and models of panels and inverters should align with what was agreed upon in your contract (e.g., high-efficiency Maxeon panels or a specific Enphase microinverter system).
- Delivery: The equipment will typically be delivered to your home a few days before the installation date or on the morning of the installation.
Step 4: The Installation Day(s)
This is when the physical work of putting solar panels on your roof happens. For most residential systems, the actual on-site installation can take anywhere from one to three days, depending on the system size and complexity.
- Roof Preparation: Installers will first prepare your roof. This involves marking out the panel locations and installing the mounting hardware (racking). The racking is securely bolted to your roof rafters and includes flashing to prevent leaks.
- Panel Installation: Solar panels are then mounted onto the racking system and secured.
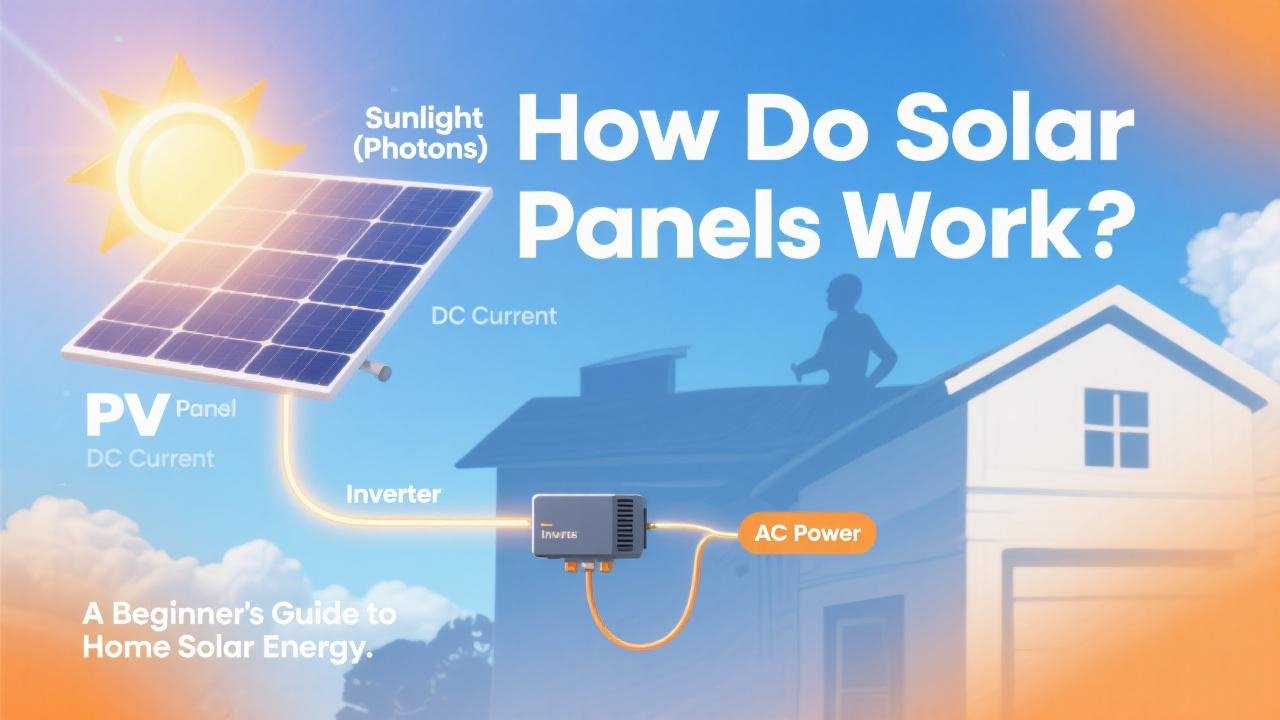
- Electrical Wiring: Electricians will run wiring from the panels to the inverter(s) and then from the inverter(s) to your home’s main electrical panel. This includes installing DC disconnects (for safety) and ensuring all connections are secure and code-compliant. The inverter itself will also be mounted, often in a garage, utility room, or on an exterior wall.
- Grounding: The system must be properly grounded for safety.
Throughout the installation, the crew should maintain a clean and safe work environment. Reputable installers, like those you can find and vet through EnergySage, prioritize safety and professionalism.
Step 5: Inspection by Local Authorities
After the installation is complete, your local city or county building department will need to conduct an inspection.
- Purpose: To verify that the installation was done correctly, adheres to all applicable codes (electrical, building, fire), and matches the permitted plans.
- Scheduling: Your solar installer will typically schedule this inspection.
- What Happens: A city/county inspector will visit your home to examine the system components, wiring, and mounting.
- Outcome: If the system passes inspection, you’ll receive an official approval. If any issues are found, the installer will need to make corrections and schedule a re-inspection.

Step 6: Utility Interconnection and Permission to Operate (PTO)
Once your system has passed the local inspection, the final step before you can officially start generating your own solar power is getting approval from your utility company to connect your system to the grid. This is often referred to as “Permission to Operate” or PTO.
- Process: Your installer will submit the final inspection paperwork and any other required documentation to your utility company.
- Meter Swap (if necessary): If your current utility meter isn’t capable of net metering (i.e., measuring energy flow in both directions), the utility company will come out to replace it with a bi-directional meter.
- Timeline: The time it takes to get PTO can vary, from a few days to a few weeks, depending on the utility company’s processes.
- Activation: Once PTO is granted, your installer (or sometimes you) can officially turn on your solar panel system!
Step 7: System Monitoring and Enjoying Your Solar Energy
With your system now operational, you can start enjoying the benefits of clean, renewable energy!
- Monitoring: Most modern solar systems come with monitoring software (often accessible via a web portal or mobile app) that allows you to track your system’s energy production in real-time. This helps you see how much energy you’re generating and can alert you to any potential issues.
- Understanding Your New Utility Bill: Your electricity bill will look different. You’ll see credits for the solar energy you send back to the grid, and your overall charges should be lower. It might take a billing cycle or two to see the full impact.
Conclusion: A Smooth Transition with the Right Partner
The solar panel installation process involves several key stages, from initial site assessment and permitting to the physical installation and final utility approval. While it might seem like a lot of steps, a qualified and experienced solar installer will manage the entire process for you, keeping you informed along the way.
Platforms like EnergySage are invaluable in helping you find such installers. By providing a marketplace to compare multiple quotes from vetted professionals, EnergySage ensures you not only get a competitive price but also partner with a company that can navigate the installation journey smoothly and efficiently, ensuring your system is installed correctly and to code. With the right team, your transition to solar energy will be an exciting and rewarding experience.


